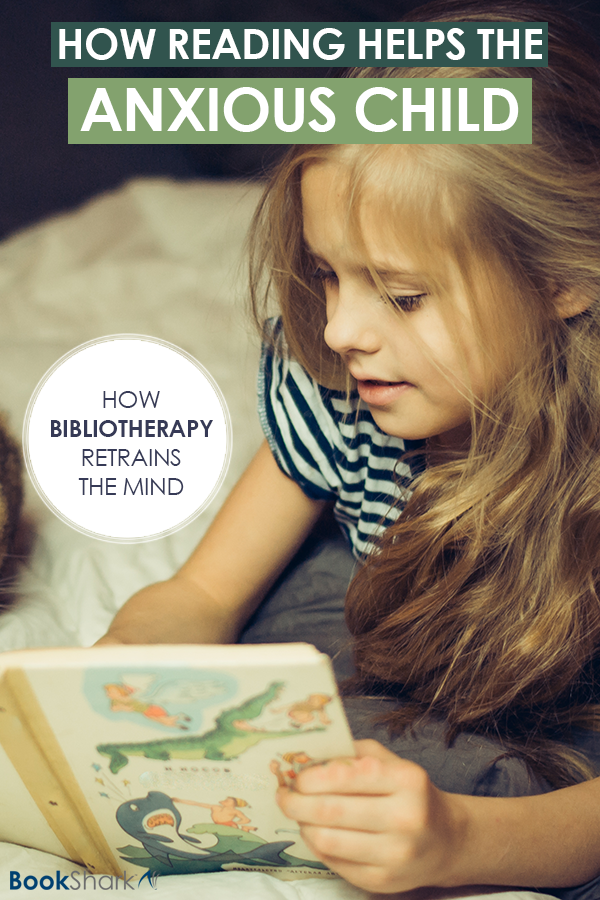
Having a child who lives with anxiety can often be an overwhelming experience. It’s painful for us, as parents, to watch our children struggle with the weight of anxiety disorder. We work tirelessly to help them learn coping mechanisms, develop strategies for managing their anxiety, and support them in living their best lives. But what if there was one small thing—something many of us already do—that could add another layer of support? That’s where reading helps. It can offer comfort, distraction, and a safe space for anxious children to explore emotions and find calm.
I am currently parenting and home educating a child who has generalized anxiety disorder. Because I also happen to be an adult who lives with anxiety disorder, I have a deeper understanding of what my child is experiencing. I’ve been there and can truly empathize with my child’s feelings.
After a lifetime of searching out different coping techniques, I still find new things to try or think about. I recently came across an article discussing how reading can help anxiety. It made me think about all the books I crawled into when I was younger, as a way to self-manage my anxious moments. I thought about the times I snuggled up to my kids with a good book when one of them was having their own hard day. It really clicked, and I started to dig a little deeper.
Bibliotherapy Soothes the Anxious Mind
Above the door of the ancient library at Thebes, was inscribed the phrase Healing Place For The Soul. As long as there have been stories to tell and stories to read, humans have used the written word as a way to soothe our hearts and ease our minds.
There is a term for this, bibliotherapy, the act of using books to aid in treating mental health disorders. Particular stories can give our minds a way to see things and find solutions.
Sure, we all love a good book or a good story, but how can we use books intentionally to help our children deal with their anxiety? One of the most effective treatments I’ve tried for anxiety disorder is cognitive behavioural therapy (CBT). In a nutshell, this is the act of retraining how we think about a situation, so that we can rewire our brain in its reaction to the situation.
Reading a novel can be a powerful way reframe a bad or scary thing. In the book, we watch the character solve that problem and fight that scary thing to victory. The more we read about a character overcoming a struggle, the more our brains start to learn other ways to respond to a threatening trigger.
Reading Helps the Anxious Child Be The Hero
GK Chesterton once said, “Fairy tales are more than true: not because they tell us that dragons exist, but because they tell us that dragons can be beaten.”
Books show us that the things we’re scared of, the situations that trigger our anxiety, can be beaten. Our children read a hero’s tale and see an ordinary everyday character—just like them—go on a journey through dark moments and scary places. They see our hero fight the darkness and emerge victorious.
Reading helps puts our children in front of these heroes and lets them imagine themselves as the victor, conquering the dragon. It gives them a brief experience of feeling that bravery and beating their foe.
Reading Reminds Us That There is Good in the World
When you live with anxiety, the world can seem overwhelming—full of terrifying events. To our children, these fears can become all-consuming. When we read a book, we are reminded of the good in the world:
- that people can be strong and brave
- that love can, and does, win
- that we can persevere and overcome
Reading helps! Finding books with characters who do the good things and overcome adversity reminds our children that the world is not such a scary place.
Reading Helps Gives the Anxious Mind Something to Do
A child who is feeling anxious will often have a million thoughts going all at once. They may be scatterbrained, or they might become intensely fixated on one problem or thought. When we sit down to read an engaging book, we give our minds something productive and enjoyable to do.
In an anxiety episode, our child’s mind is looking for trouble—in full flight or fight mode. If we give the mind something to focus on, it can’t keep fixating on the anxiety trigger. This kind of mindfulness activity can be an excellent coping mechanism, and books are a great way to do it. You can’t read a book and think of five other things at the same time. A good book will pull you in, and your mind will slowly let all the other worries fall off to the side.
Once your child spends time focusing their mind on one task, their mind can feel less scattered and frantic. Along the way, they’ll hopefully get pulled into a wonderful story or a fantastical world.
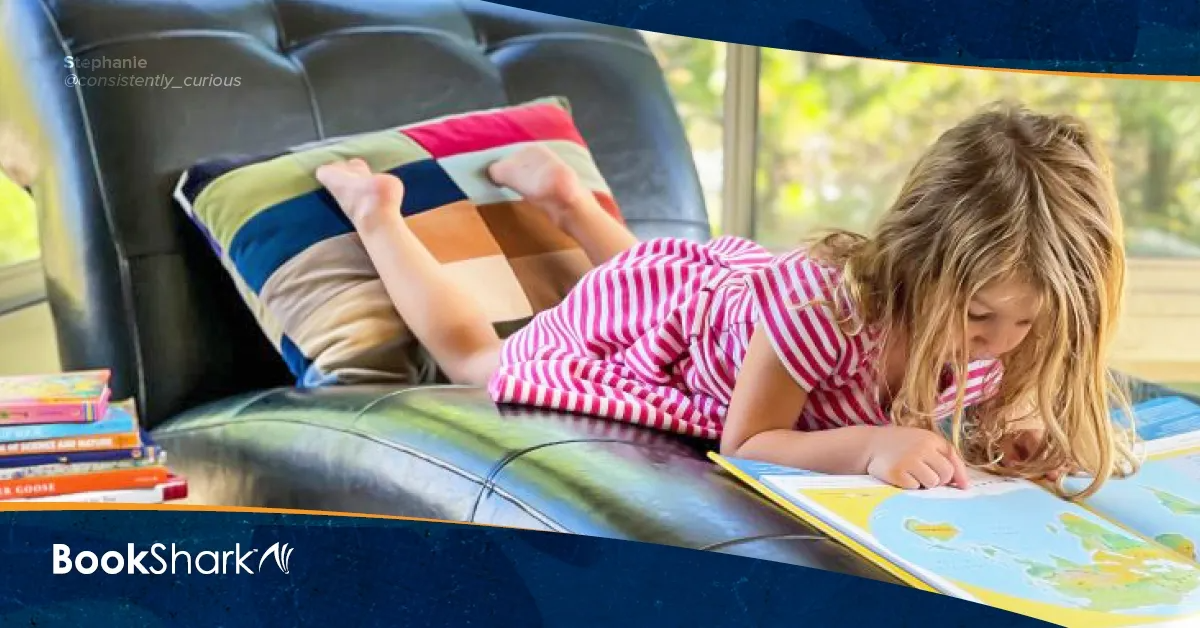
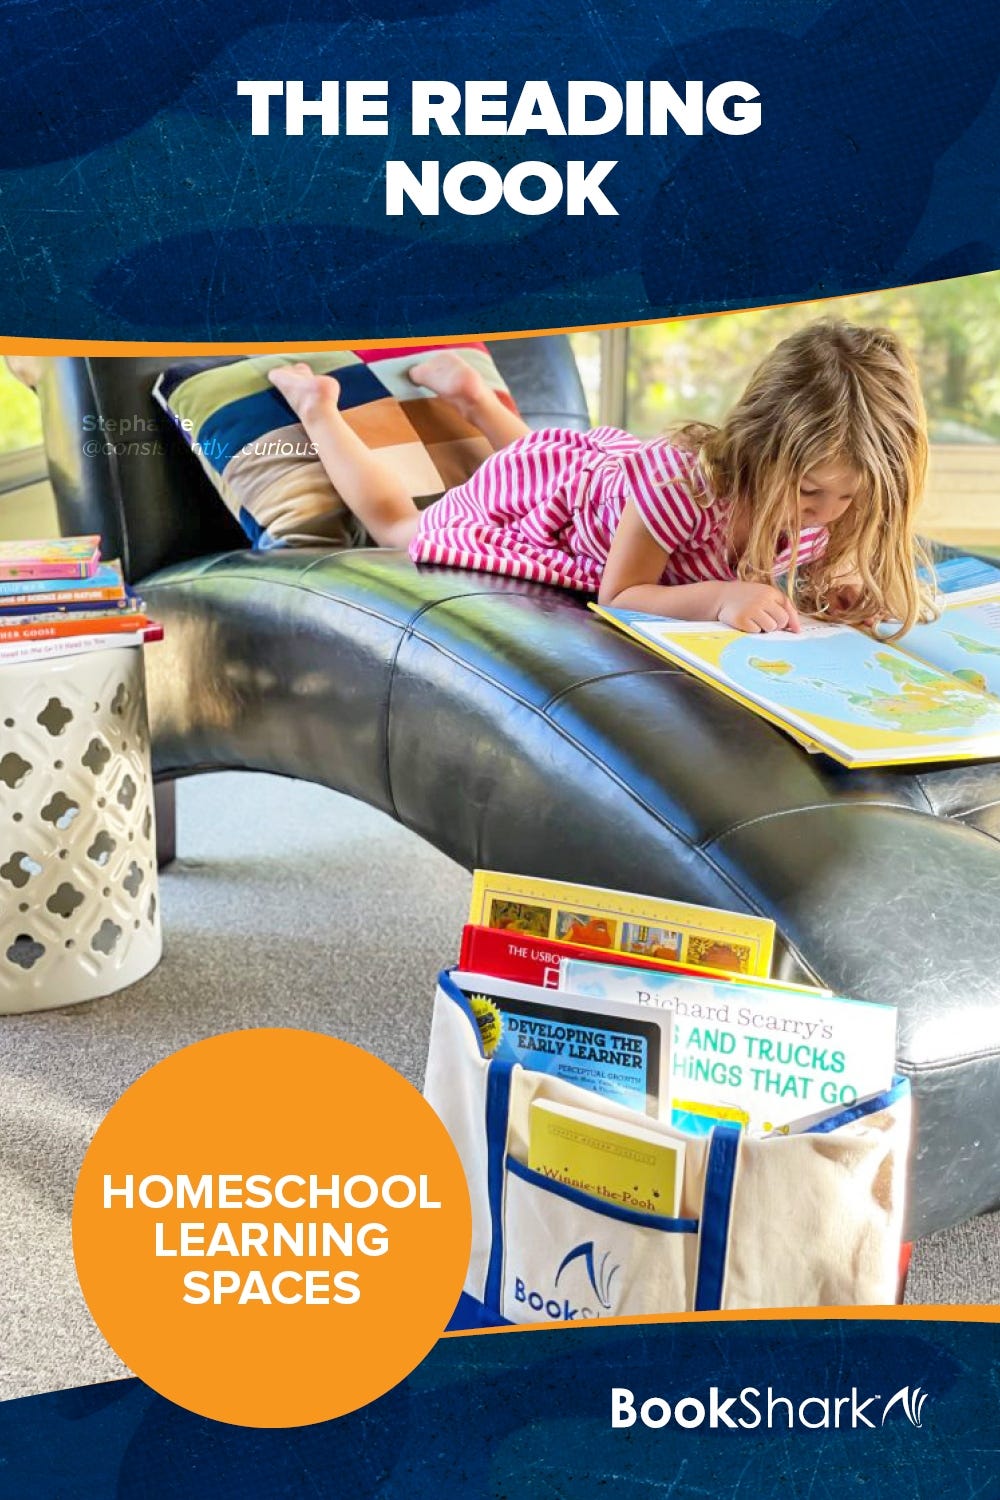
As home educating parents, we read all the time. We have family Read-Alouds in our curriculum, and literature for our homeschool lessons. We listen to audiobooks in the car on our way to activities. Reading can be such a large part of our lives already. How wonderful it is that we can also use it to help our children cope with fear and anxiety. with our children. Draw out the topics they are interested in and can relate to, ask questions that spark opinions and more questions, and get excited about what will happen next. Your kids will follow suit and you’ll be digging in and having valuable discussions with them before you know it.

About the Author
Nadine Dyer is a homeschooling parent to two great kids and the lucky wife to one amazing guy. She and her family, which also includes four spoiled guinea pigs, reside in beautiful (and chilly!) northern Ontario, Canada. Nadine is the author of upabovetherowantree.com where she shares her journey, with all its ups and downs, as a secular homeschooling parent. When she isn’t homeschooling or writing, Nadine can usually be found in search of good coffee, good books, and great conversation.