BookShark

Tag: homeschooling organization

  • 5 Ways to Manage Your Big BookShark Binder without Lugging It Around

    5 Ways to Manage Your Big BookShark Binder without Lugging It Around

    The BookShark binder* is huge. It has to be to fit all of the information, lessons, and activity sheets included in the 36-week curriculum. We need the Instructor’s Guide that goes in the binder, but thankfully we don’t need to lug it around. 

    There are several ways we can keep our BookShark materials organized and accessible without wrangling a 3-inch notebook. If you’re like me and prefer to keep the big binder on the shelf, all you have to do is choose one of these five solutions. 

    1. Use a Working Binder

    A working binder is exactly what its name suggests: a binder that holds the things your homeschoolers are currently working on.

    This method works well if you plan units or like to build breaks into your homeschool year every six or eight weeks. Transfer the lessons to a smaller binder and when your child is finished with them, swap them for a new set of materials. 

    A working binder is also a great tool if you are using several different BookShark programs. Keep your current history, writing, science, and math units together, so you always have on hand exactly what you and your student need. 

    2. Use a Filing Crate with Hanging Files

    Some of us are just not binder people. It’s okay! 

    A hanging file system is another great way to organize your BookShark curriculum. All you need to do is put each weekly lesson into a separate file folder. If you have multiple homeschoolers, you might put their weekly lessons in the same folder so that you can grab one file at a time. Or you can choose different colored folders for each child. 

    Once you finish a lesson, move the file to the back of the crate or cabinet. Your homeschooler’s next set of lessons is now right up front, ready for them.  

    3. Use a Kids Binder and an Adult Binder

    My child loves school supplies and would be very upset if I were the only one with a binder. So she gets her own notebook, too. tory. Use reading strategies to craft your questions and discussions: 

    I always put all of her activity sheets in one binder and my Instructor’s Guide in another. She also likes to organize her supplies by subject, so her BookShark history lessons and writing assignments are in one binder while her BookShark science lessons are in another. These binders don’t have to be very big and give her the autonomy (and school supplies) she craves. They also lighten the load on my binder. 

    4. Spiral Bind Each Unit

    If you love to keep curriculum long-term, spiral binding each unit or several units is a beautiful way to save and showcase the lessons. Spiral-binding might be an easier way to travel with units or for younger children to use the materials. 

    Systems like the Happy Planner also allow you to punch holes into the materials and use plastic rings to bind the lessons together. 

    5. Pull Out What You Need Each Week

    Perhaps the easiest way to keep yourself from lugging around your big BookShark binder is to pull out what you’ll need each week. Keep the materials in a folder or separate binder—whatever works for you. At the end of the week, put everything back into the big binder and pull out what you’ll need next week. 

    Practically speaking, the big binder is massive and takes up a good amount of space on the table.

    There is another reason you might consider downsizing your binder: Some children get overwhelmed by seeing everything they will need to do in a year. Seeing a manageable amount of activity sheets or reading may dissipate the shock factor. If you feel overwhelmed by the number of lessons, it might help you feel less stressed as well. 

    Remember, homeschooling is not a race, and the BookShark curriculum is a guide. For some of us, it takes many more weeks or months to finish. And that’s okay! Staying organized and biting off (or filing) manageable amounts of materials can help. The most important thing is you use your curriculum how it works best for you and your homeschooler. . 

    *A BookShark binder is included in the Required Resources for All-Subject and Reading with History Packages. 

    About the Author

    Kelly left teaching middle and high school English to homeschool her children and reclaim how she and her family spent their time. Followers of interest-led learning, her family’s days rarely look the same, but they tend to include a lot of books, art supplies, and time outside.

    Kelly facilitates local writing circles for women and children and blogs about nurturing the love of learning on her blog, Curiosity Encouraged. She loves to journal, read memoirs, hike, and travel. She seeks quiet mornings and good coffee daily.


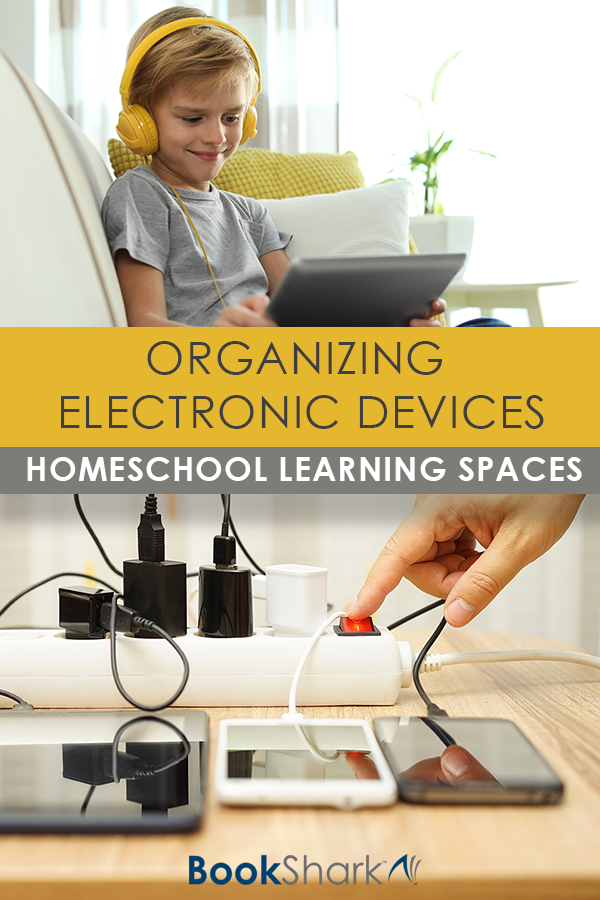
  • Homeschool Learning Spaces: Organizing Electronic Devices

    Homeschool Learning Spaces: Organizing Electronic Devices

    When you think homeschool learning spaces, the first thing that typically comes to mind is a nature center or a reading nook, or perhaps even an art center. But what about kids’ electronic devices? How do devices such as tablets and computers fit into your plan for a homeschool room?

    Our homeschool is not exclusively digital. We enjoy learning through booksscience experiments, and hands-on projects. But we still have several devices for our kids to use as part of their home education. Unless I stay on top of the device organization, those cords get tangled and tripped over. Laptops and tablets get unplugged and batteries go dead. We don’t have much space in our homeschool room so it’s more important than ever that I stay on top of managing these digital devices.

    How Many Devices Are Needed to Homeschool?

    Our eventual goal is one device per child, whether that’s a laptop, a Chromebook, a tablet, or a raspberry pi. However, for now, we have only been able to pull off three dedicated devices among our seven children. It’s not ideal, but it’s working for now.

    Having almost one device per two children makes it easy to stage and stagger lessons, especially where we still have physical lessons using books and tactile materials.

    We used to only have one device for all seven kids to share, and that was painful. It was incredibly annoying trying to get all of the kids a turn on the one laptop in a timely manner. 

    Choosing Devices For Your Homeschool Room

    Here are five questions to consider.

    1. How many kids are you actively schooling? This one is obvious, but the number of devices you need will obviously fluctuate based upon the number of kids you are homeschooling.
    2. What age are your homeschoolers? Older students will naturally have a need for more electronic time than younger students. If your students are older, you will need a smaller ratio of devices to students than if your students are younger.
    3. What style of homeschooling do you follow? Some styles of homeschooling will have a smaller need for electronics. For example, Charlotte Mason homeschoolers will generally spend more time in books than eclectic homeschoolers. The ratio of devices to students will fluctuate based upon your homeschooling style.
    4. What is your children’s level of independence? Some homeschooling families strive to get their kids working independently as soon as possible while others thrive in a cooperative setting. 
    5. How much money do you have to invest in more electronics? It goes without saying that your finances will determine how many devices you can afford. It might behoove you to buy one or two now and in a few years when you’ve got more money, you can invest in a couple more. 

    Unfortunately, my school room is not very large, but here are a few tricks I use to keep the electronics tidy.

    Child-Friendly Phone and Tablet Cord Organization

    If your kids are anything like mine, I’m sure you have gone through a painful amount of broken charging cords over the years. Even when my kids don’t use the devices, it seems like they are still always breaking the cords, either because the device got tripped over, tugged on, or plugged/unplugged incorrectly.

    I got so sick of always buying new charging cables that I finally invested in magnetic phone cables for our homeschool devices.

    These are great for kids because they are really easy to plug in. Even my 1-year-old can do it. These are also nice because when a cord gets tripped on, nothing gets ripped or bent wrong, and nothing goes flying either. These magnetic cords are a must for any homeschool room that uses portable electronic devices.

    And to minimize the number of plugins we were taking up, I invested in these fun little charger plugins that can accommodate two USB slots instead of just one. Now we can plug in double the devices with half the outlet space. Again, this is a must for a homeschool room with so many homeschoolers.

    Easy Laptop Storage

    We have three laptops in our family. One of these is specifically dedicated to our homeschoolers and our homeschool learning space, while the other two are more for the adults in the family. However, all of the laptops get used by the kids at least some of the time, which means we need a safe space for multiple laptop storage in our homeschool room.

    The nice thing about laptops is they fold up flat, making them easy to store. Right now, we just stack our laptops onto a shelf in our homeschool room. That way they are easy to access for anybody who needs them, but they are out of the way when not in use. Cords just get wrapped up loosely and set on top of the laptop pile until the next time we need them.

    In the past, we have also used small plastic containers to store our laptops. We found an inexpensive container in the dish drainer section of our local grocery store that was the perfect size for holding a couple of laptops with their cords. And as a bonus, our kids’ tablet also fit nicely in this container.

    Simple Electronic Setup

    When all of our devices are in use, you can imagine the tangle of cords that we deal with. On a regular basis, our school room consists of one tablet, one laptop, and one raspberry pi, and it’s not unheard of for us to add two more laptops and a phone or two, when circumstances require. Now that’s a lot of cords.

    In order to accommodate our large homeschooling family, our homeschool room has two extra-long folding tables. One of those folding tables just so happens to have a hole specifically designed for easy stringing of cords and cables, but we have made this setup work without one of these holes.

    The key to managing cords for all of these school devices is a multi-plug extension cord. We got a cord that was 6+ feet long and strung it from the wall to the table, up through that hole. We taped the cord down to the floor so the kids wouldn’t trip on it, and we taped the outlet part to the table so it wouldn’t get moved around by the kids.

    Now we still have a bunch of cords strung across our table, but it’s more manageable than if they were strung across the entire house. And this kind of setup would work nicely no matter how many devices or electronics you have in your homeschool room.

    For somebody who naturally struggles with organization, this has been a really simple and effective setup for our large homeschooling family.

    About the Author

    Charlene Hess spent many years teaching before she had her own kids. She now has 7 of her own, whom she has been homeschooling for the last 10 years. Although she still teaches other children outside of her home, she finds great joy in exploring the world with her family.

    Charlene has participated in many leadership trainings with John C. Maxwell. She and her husband blog about their homeschooling and parenting adventures at Hess Un-Academy.